
A4 vs Letter PDF: page size, margins and image fit
Choose A4, US Letter or an image-sized PDF with clear dimension examples, printable margins, fit versus fill, and 300 dpi print planning.
By PixToPaper Team. Published . Updated .
On this page
Choose the paper size your recipient or printer expects. Use A4 (210 × 297 mm) when A4 is requested, or US Letter (8.5 × 11 in) for Letter paper. For a PDF mainly viewed on screen, Match each image is useful when you want pages shaped like the images rather than a standard sheet.
For receipts, screenshots and scanned documents, start with Fit the whole image so no edges disappear. Fill the page can crop content when the image and page have different shapes. Neither paper size nor placement repairs blurry text.
Open PixToPaper to try these settings. If this is your first PDF, follow how to convert images to PDF for the full selection, editing and download process.
Change page layout in PixToPaper
- Select Choose images and add your files. Keep PDF output set to Single PDF — all images together for one document.
- Open PDF settings. Under Page size, select A4 (210 × 297 mm) or US Letter (8.5 × 11 in) to match the paper you plan to use.
- Set Orientation to Portrait for upright sheets or Landscape for wide sheets. Automatic follows each image’s shape, so one PDF can contain both portrait and landscape pages.
- Enter your white border in Margins (mm), from 0 to 50. For example, 10 gives a 10 mm border on every side; it is not a percentage.
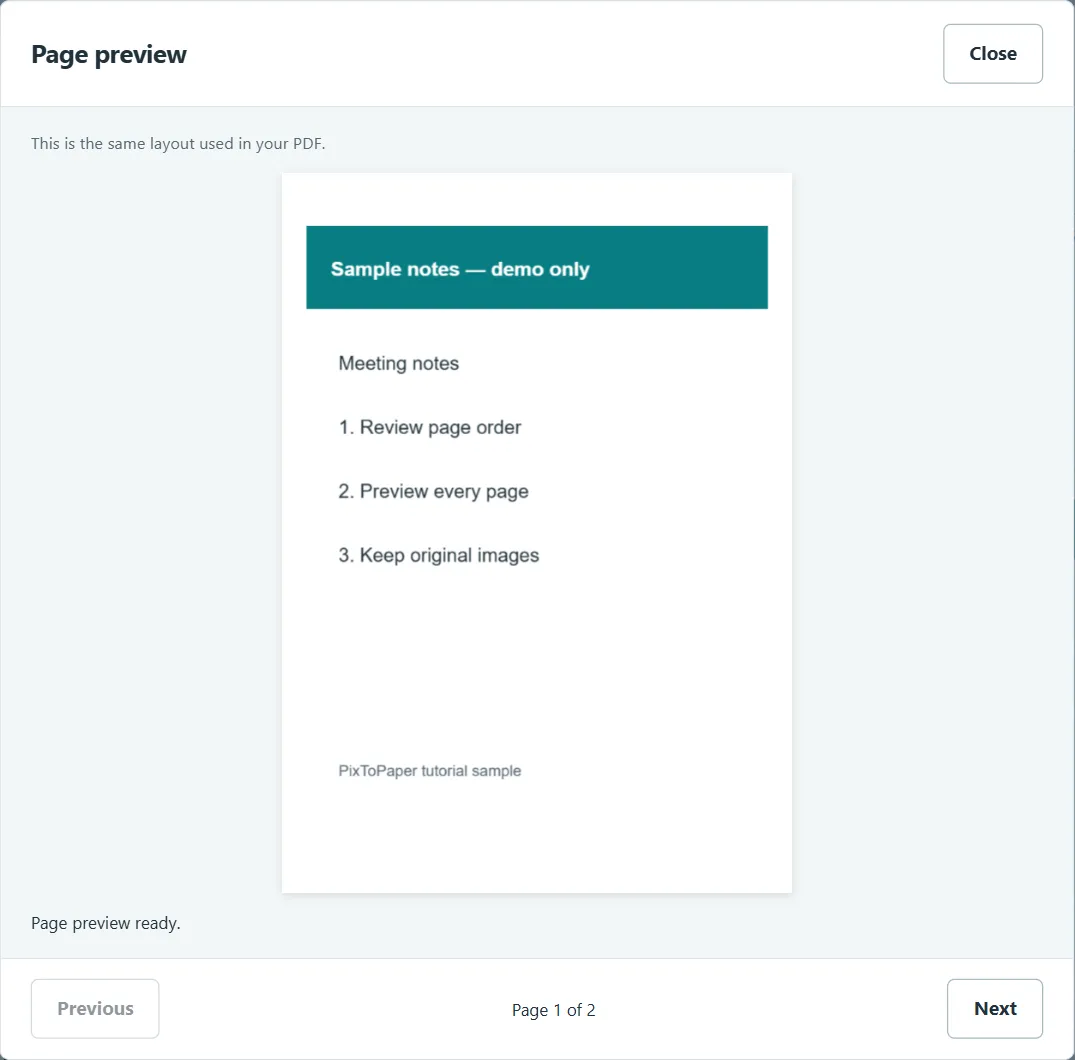
- Under Image placement, select Fit the whole image for a receipt or document. Select Preview pages, then use Next to inspect the other pages. Check that totals, signatures and page edges remain visible.
- Close the preview, select Create PDF, then Download PDF. Open the downloaded PDF before sharing or printing.
The layout settings apply to every image. For example, if an office requests portrait A4 scans, select A4 (210 × 297 mm), Portrait and Fit the whole image. Do not leave Automatic selected if every sheet must be portrait. Changing a setting after export requires creating and downloading the PDF again.
A4 and Letter dimensions
| Paper | Portrait size | PDF page size in points |
|---|---|---|
| A4 | 210 × 297 mm (approximately 8.27 × 11.69 inches) | Approximately 595.28 × 841.89 points |
| US Letter | 8.5 × 11 inches (215.9 × 279.4 mm) | 612 × 792 points |
There are 72 PDF points per inch. Landscape swaps the width and height. A4 is narrower and taller than Letter, so changing between them can affect whitespace or crop edges even if the image itself does not change.
If a school, office or application specifies a paper size, use that size. For home printing, match the loaded paper and check the printer dialog: “fit to paper” may rescale a PDF whose page size differs from the physical sheet.
Margins define the printable rectangle
Margins (mm) adds a white border on every side and reduces the area available for the image on A4 or Letter pages. It does not increase image resolution. The available rectangle is a layout area, not a promise about what your printer can physically print.
For a familiar comparison, consider portrait pages with half-inch margins on every side (12.7 mm):
| Page | Area inside the margins | Image pixels for that area at 300 pixels per inch |
|---|---|---|
| Letter | 7.5 × 10 inches | 2,250 × 3,000 pixels |
| A4 | Approximately 7.27 × 10.69 inches | Approximately 2,180 × 3,208 pixels |
The pixel counts are rounded planning targets, not a requirement for using the converter. At lower resolutions the PDF still works, but fine print may look softer. A printer’s minimum margins depend on the model and print mode; a zero-margin PDF does not guarantee borderless printing.
Fit keeps the image; fill crops the edges
Fit the whole image scales the entire image into the area inside the margins without changing its proportions. If its shape differs from that area, you will see additional white space on two sides. Use it for documents, receipts and screenshots where no information should disappear.
Fill the page scales the image until the area inside the margins is covered, then clips the overhanging edges. It still respects your margins; it does not remove them or stretch the image into a different shape. Use it for photos only when the crop is acceptable.
For a concrete example, place a 1,200 × 1,200 pixel square inside Letter’s 7.5 × 10 inch printable area:
- With fit, the image occupies 7.5 × 7.5 inches. Centered placement leaves 1.25 inches of extra white space above and below it, inside the margins.
- With fill, the image scales to 10 × 10 inches. Centered clipping removes 1.25 inches from each side of that scaled image, so only the central 75% of its width remains visible.
Changing the crop changes the composition. Inspect faces, labels and document edges in the preview instead of assuming that fill will preserve important content.
The same square image with Fit and Fill
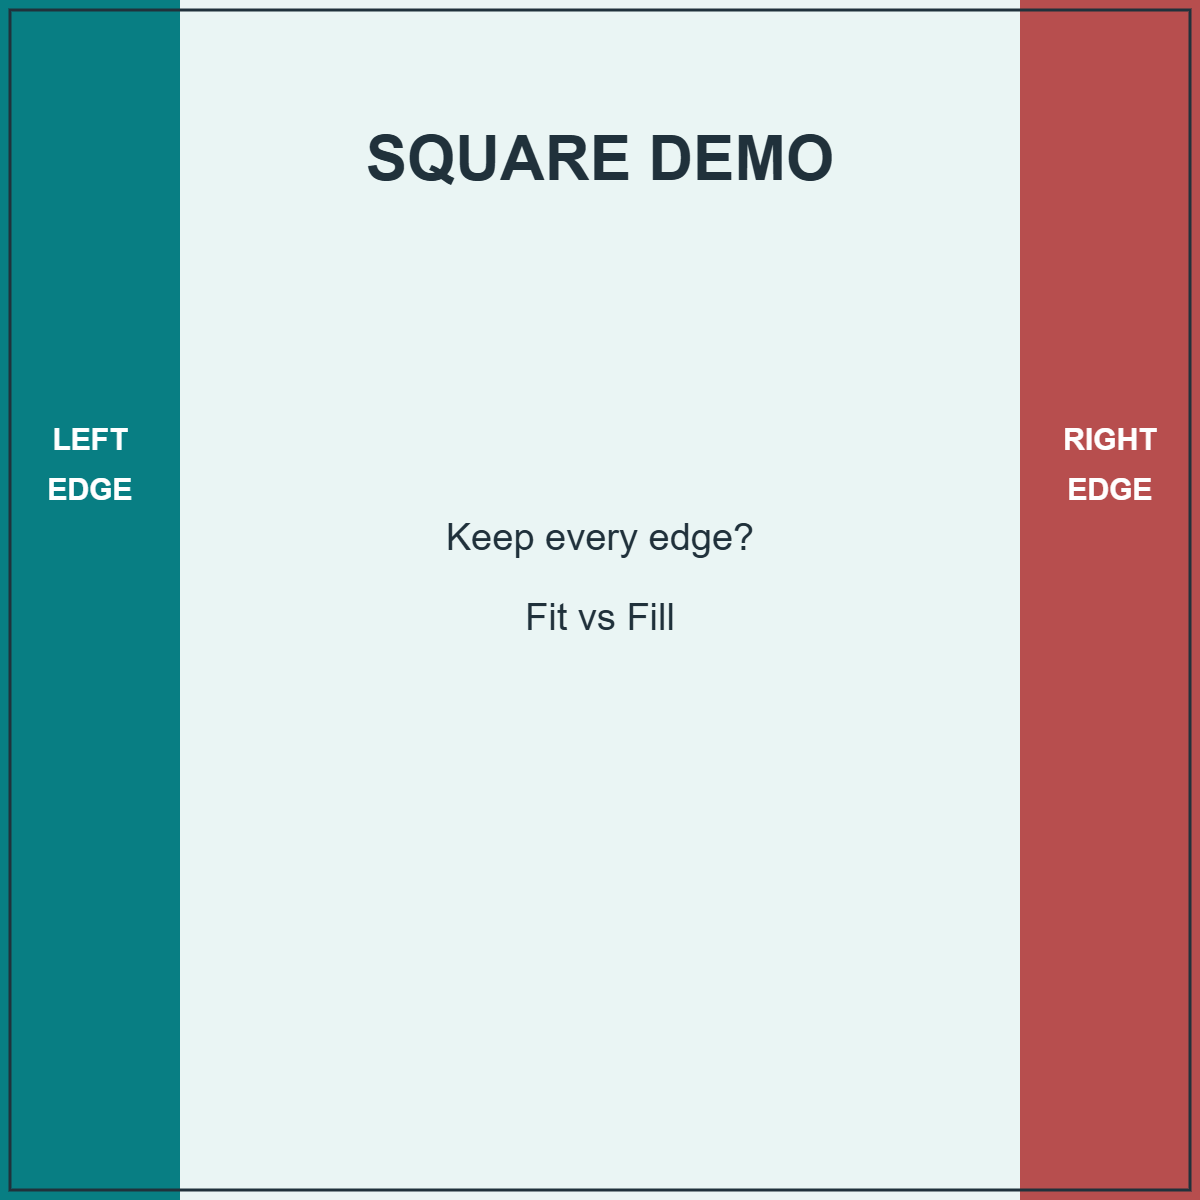
Here are actual PixToPaper page previews of one 1,200 × 1,200 demonstration image, using US Letter, Portrait and 10 mm margins. Only Image placement changes. The colored strips carry LEFT EDGE and RIGHT EDGE labels so clipped content is easy to spot.
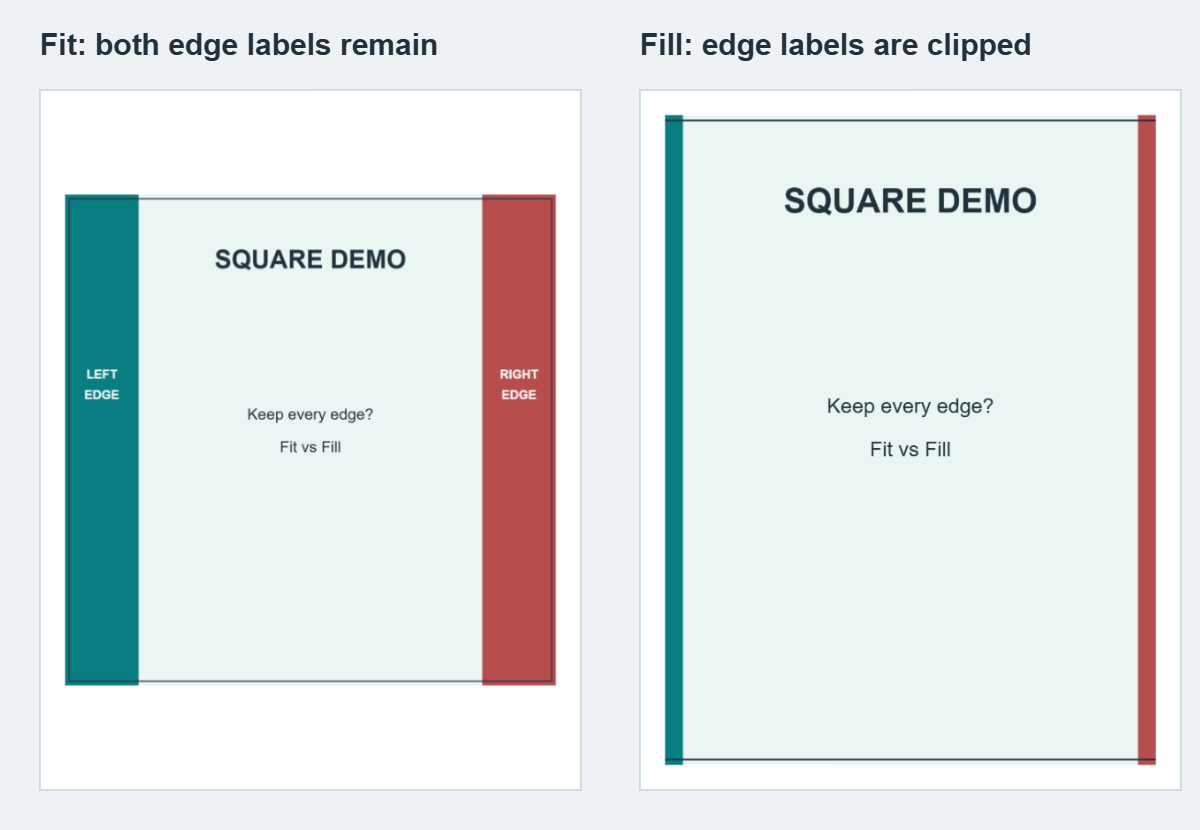
With these settings, the Letter page is 612 × 792 PDF points. After the 10 mm borders, the available area is approximately 7.71 × 10.21 inches. Fit places the square at about 7.71 × 7.71 inches and leaves 1.25 inches of extra white space above and below, inside the margins. Fill scales it to about 10.21 × 10.21 inches and clips approximately 1.25 inches from each side.
Save the original labeled square PNG (60 KiB) to repeat this example in the converter. For a receipt, signature or document with important edge content, choose Fit and inspect the downloaded PDF before sending it.
When to choose an image-sized page
Choose Page size → Match each image for screen viewing when you want each page to follow the edited image’s dimensions instead of a standard paper shape. With Orientation → Automatic, wide images become wide pages and upright images become upright pages. Leave Margins (mm) at 0 if you do not want an added white border.
PixToPaper normally sizes these pages at 96 pixels per inch. For example, an edited 960 × 1,440 pixel image with no margins has a nominal page size of 10 × 15 inches, or 720 × 1,080 PDF points. A quarter-turn rotation swaps the image dimensions. Added margins enlarge an image-sized page; forced Portrait or Landscape can introduce extra space or clipping, depending on placement. Exceptionally large dimensions are reduced to stay within the PDF limit of 200 inches per page side.
This convention does not use a camera’s dpi metadata as a guarantee of print detail. At a print target of 300 pixels per inch, the same 960 × 1,440 pixels provide only 3.2 × 4.8 inches of detail. Match each image is therefore not automatically a 300 dpi print-ready setting. For printing, choose the expected paper size and check the result at its intended physical size.
Plan print detail before export
A useful calculation is:
Needed pixels = printed inches × target pixels per inch.
For a 6 × 4 inch photo at a 300 pixels-per-inch target, start with approximately 1,800 × 1,200 pixels. For full-page A4, approximately 2,480 × 3,508 pixels is a common rounded target; for full-page Letter, use 2,550 × 3,300. Subtract your margins before calculating a smaller printable area.
“300 dpi” is often used informally for these image-resolution targets. A printer’s physical dots are not the same thing as image pixels, and the best target depends on the content, viewing distance and printer. Upscaling a small source does not recover missing detail.
For screenshots with small text, select Image quality → Lossless — larger file to avoid JPEG compression, within the converter’s rendering-size limits. High — balanced size and Compact — smaller file use JPEG compression and can downscale large images, so either can soften fine details. Transparent areas are flattened onto white in every setting. Read PNG vs JPG for PDF for the quality and memory trade-offs.
Before you send or print
- Match Page size to your recipient’s requirement or physical paper.
- Set Orientation and Margins (mm), then select Preview pages and review every page.
- Prefer Fit the whole image for documents; check any Fill the page crop carefully.
- Select Create PDF, then Download PDF, and open the result to inspect its page dimensions and readability.
- Check the printer dialog for scaling and paper-size changes.
Your source images remain yours; keep a separate copy if you will need to edit them again.
Sources and how to check the examples
Adobe’s A4 paper-size guide documents the 210 × 297 mm A4 format and compares it with 8.5 × 11 inch US Letter. Our inch values follow millimetres ÷ 25.4; the pixel planning examples use printed inches × pixels per inch, rounded to whole pixels.
The Fit and Fill images above are PixToPaper’s own layout previews with the stated source and settings, not printer tests. Repeat the example with the linked square PNG, inspect the exported PDF and check your printer’s paper and scaling settings. Read our testing and editorial approach for the scope of these demonstrations.
Read how these guides are produced and checked, or report a correction. Examples use demonstration files, not visitors' documents.