
PNG vs JPG for PDF: choose clarity or a smaller file
Learn when PNG or JPG makes a better PDF source, what happens to transparency, and how Lossless, High and Compact quality affect your pages.
By PixToPaper Team. Published . Updated .
On this page
Keep screenshots and diagrams as PNG; keep photographs as their original JPG or JPEG. In PixToPaper, choose Lossless — larger file for small text and crisp lines, or start with High — balanced size for photos. Try Compact — smaller file when the download is too large, then check that the result is still readable.
You do not need to convert your images to a different format first. Open PixToPaper and add PNG, JPG, JPEG or WebP files together. JPG and JPEG are two filename extensions for the same format. Each image becomes a PDF page.
A PDF does not repair a blurry photo or turn screenshot text into selectable text. Start with the clearest source available. For the complete choose-to-download walkthrough, see how to convert images to PDF.
Set image quality in PixToPaper
- Select Choose images and add your files. For example, use the original PNG of a screenshot rather than a JPG copy saved from it.
- Keep PDF output set to Single PDF — all images together if you want one document, then open PDF settings.
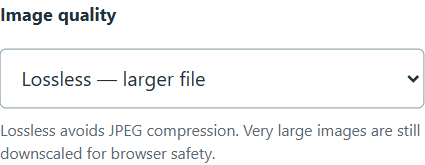
- Under Image quality, choose Lossless — larger file for a screenshot with small labels, High — balanced size for phone photos, or Compact — smaller file for a size-sensitive photo collection.
- Under Image placement, keep Fit the whole image when every edge matters. Select Preview pages to check layout and white space.
- Select Create PDF, then Download PDF. Open the downloaded file and zoom in on small text or detailed areas: the page preview shows layout, not the final compression quality.
If you change Image quality after creating a PDF, select Create PDF again and download the new result. Compare actual downloads rather than assuming a particular percentage reduction.
Which source format should you use?
| Source | Usually a good choice for | Main trade-off |
|---|---|---|
| PNG | Screenshots, diagrams, text-heavy graphics and flat colors | Lossless compression preserves existing pixels, but photos can make large files. |
| JPG / JPEG | Photographs and scans with continuous tones | Smaller files are common, but lossy compression can introduce ringing and block artifacts. |
| WebP | An image you already have in WebP | WebP can be lossy or lossless; its extension alone does not tell you how much detail was preserved. |
PNG is not inherently higher resolution than JPG. A 600 × 400 PNG and a 600 × 400 JPG both have 600 × 400 pixels. PNG avoids adding lossy compression artifacts, but it cannot undo artifacts already present in the source.
For a diagram with small black labels on a white background, keep the original PNG if possible. For a collection of phone photos, use the original JPG files rather than converting them to PNG first: that conversion normally increases size without recovering lost information.
What happens to transparency?
PixToPaper uses a white page background and flattens transparent image areas onto white. A transparent logo therefore appears against white in the exported PDF, not as a reusable transparent graphic.
Check the preview before downloading, particularly if a logo has white lettering intended for a dark background. PNG can store an alpha channel; ordinary JPEG does not. Selecting a PNG source does not make the PDF page transparent.
Lossless, High and Compact export quality
Image quality controls how the rendered image is encoded in the PDF. It is separate from Page size, and applies whichever source format you add.
| Image quality option | What it does | Useful starting point |
|---|---|---|
| Lossless — larger file | Uses PNG encoding, without JPEG compression. The rendered image is limited to an 8,192-pixel longest edge and 16 million pixels. | Screenshots, diagrams and small text. |
| High — balanced size | Uses JPEG encoding, with a longest-edge limit of 3,200 pixels. | Photos and scans where detail matters. |
| Compact — smaller file | Uses JPEG encoding with stronger compression and a longest-edge limit of 1,600 pixels. | Sharing photos when a smaller download matters more than fine detail. |
These are maximum rendering sizes, not sizes that every image is enlarged to. Small images are not upscaled during rendering; very large images are downscaled. All settings also share the browser-safety limit of 16 million rendered pixels. The converter accepts source images up to 50 MB each and 40 megapixels, but a large accepted image may still need downscaling for export.
“Lossless” describes the encoding of the rendered pixels, not an untouched copy of the original file. Cropping, rotation, flips and white-background flattening produce a new rendered image. A JPG saved with Lossless quality does not regain details its earlier compression removed. High or Compact may soften screenshot text; Compact can also lose detail through downscaling.
There is no fixed compression percentage: photographs, blank pages and detailed screenshots compress differently. Compare the downloaded result at the size you actually need to read or print it, not only the thumbnail preview.
A measured two-page export comparison
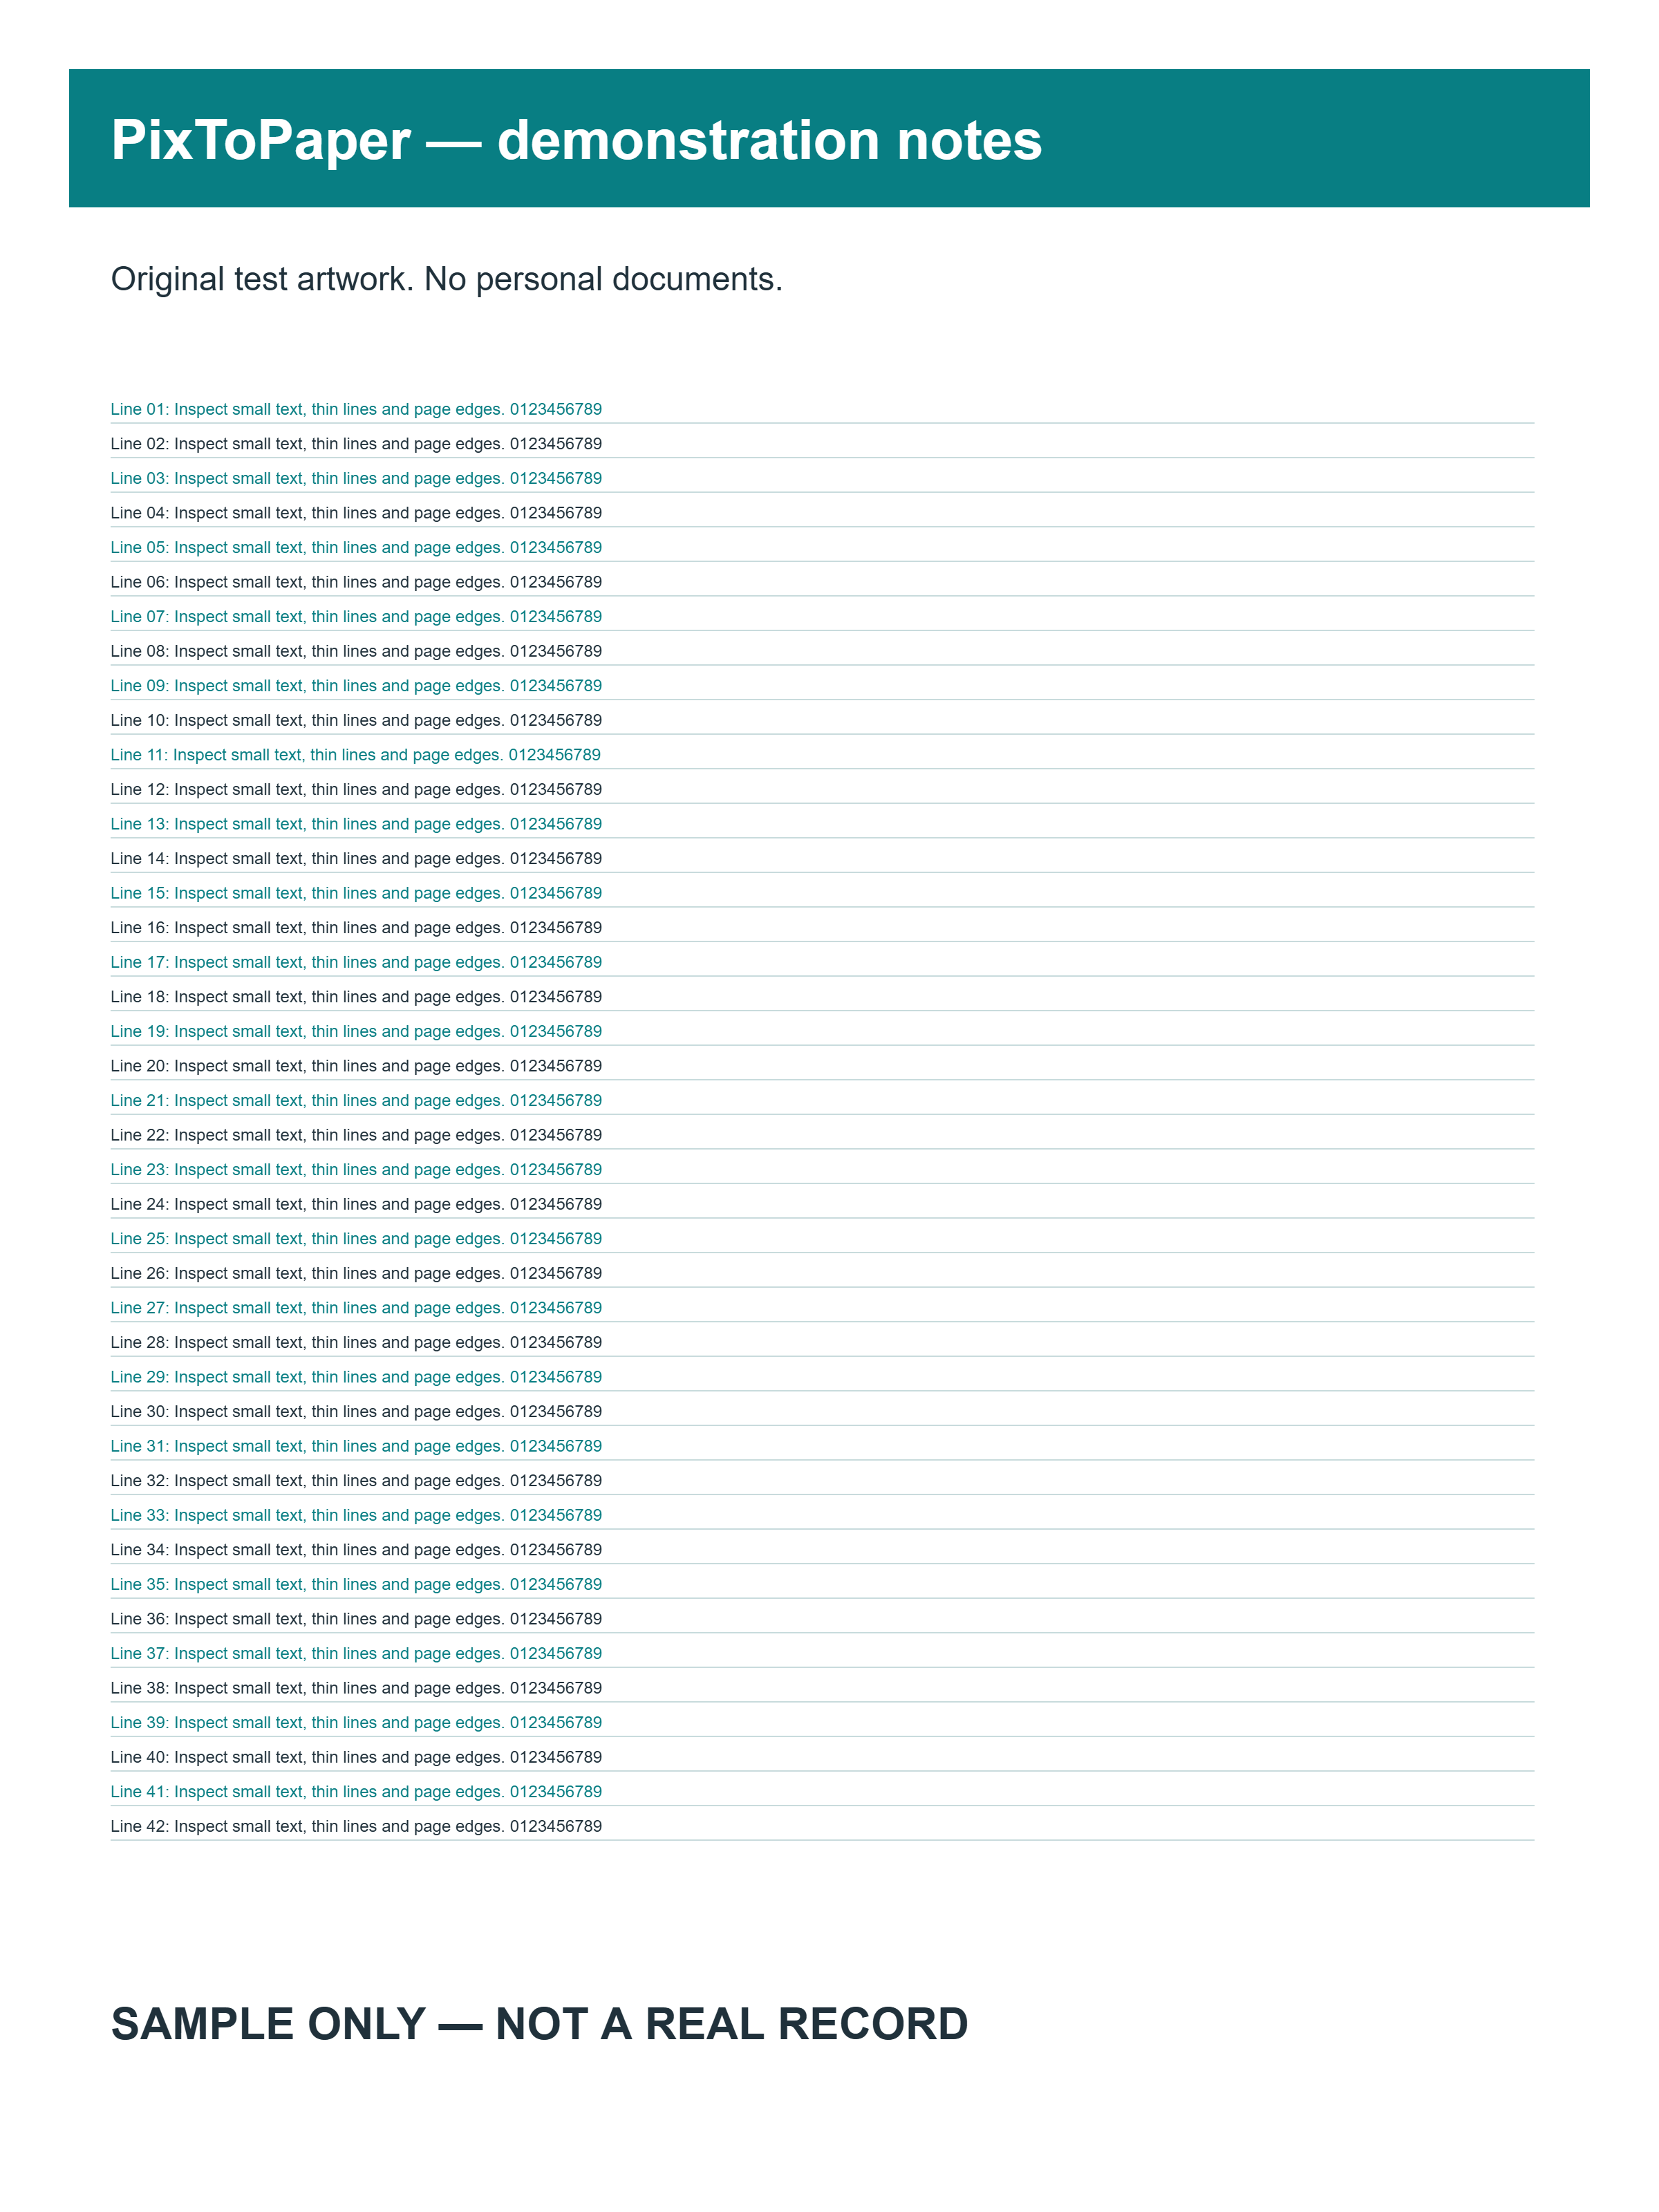
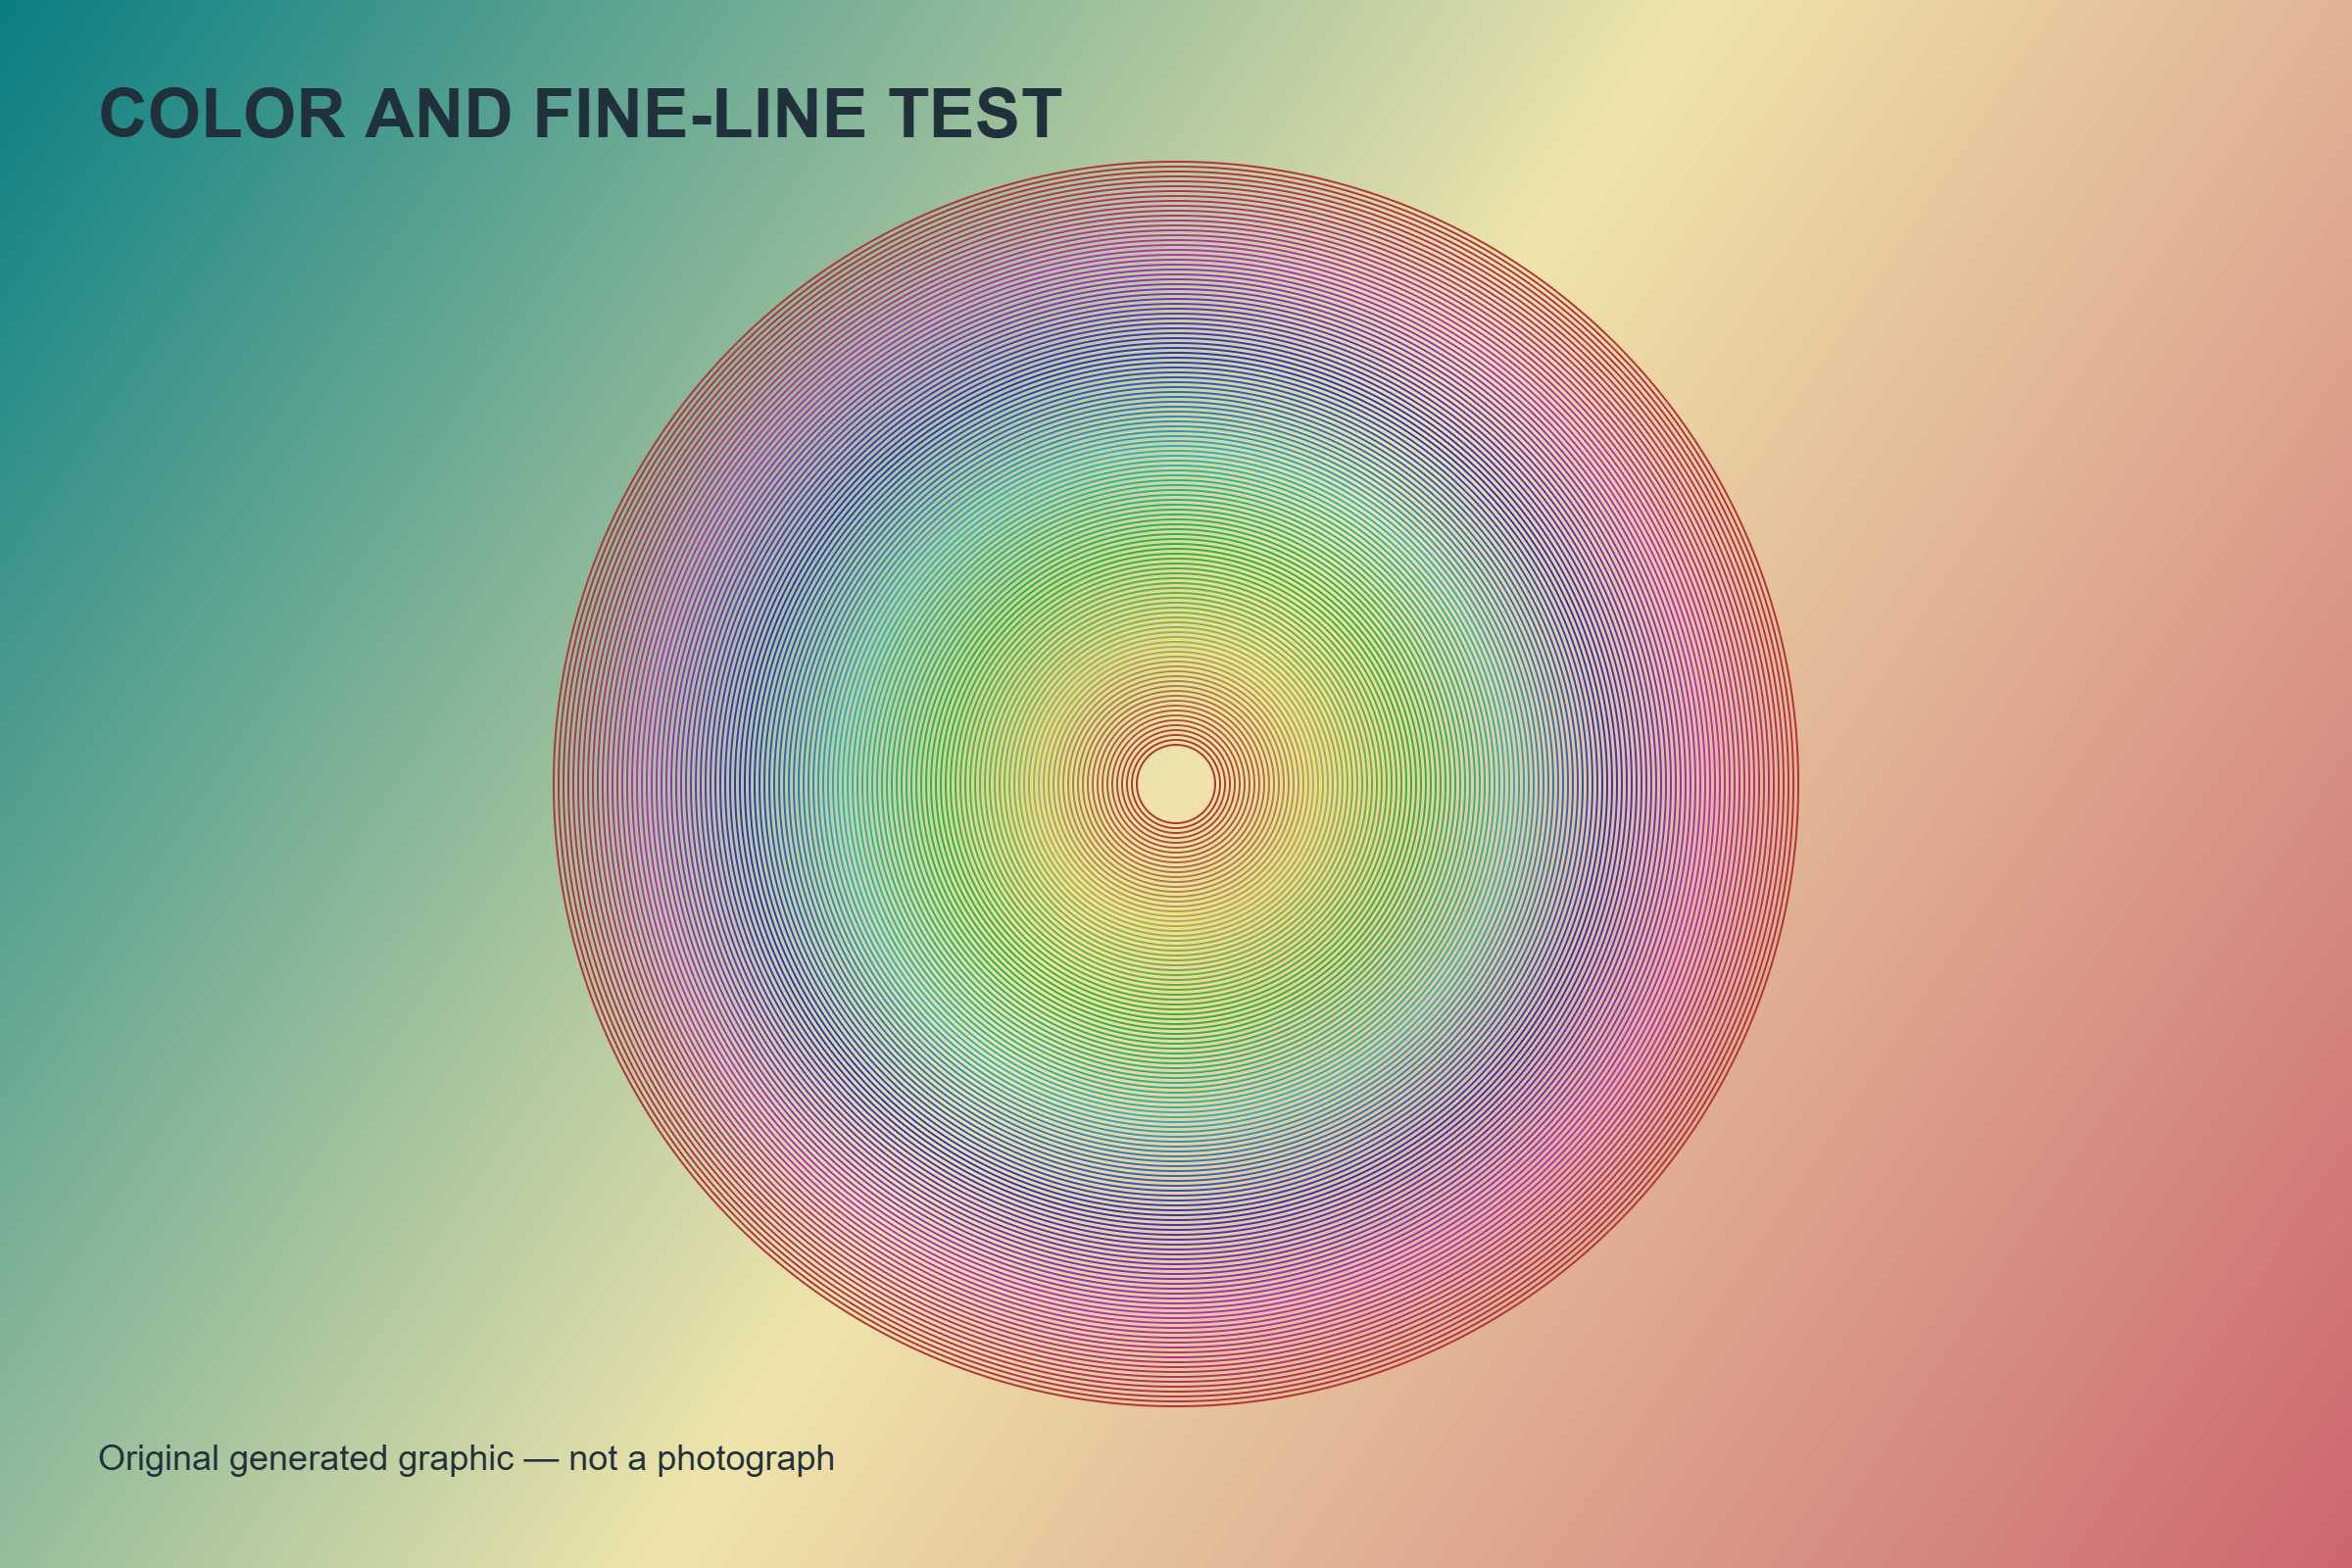
On September 30, 2026, we exported the same two original demonstration PNGs through PixToPaper in Chrome 154 on Windows: a 2,400 × 3,200 text-and-line sheet and a 2,400 × 1,600 color-and-fine-line graphic. These are generated test artwork, not visitors’ documents or photographs. Each export used Single PDF, Match each image, Automatic orientation, 0 mm margins and Fit the whole image, with no image edits. Only Image quality changed.
| Image quality | Actual two-page PDF size | Embedded text-sheet dimensions | Sample PDF |
|---|---|---|---|
| Lossless | 3,670,756 bytes (3.50 MiB) | 2,400 × 3,200 pixels | Open Lossless PDF |
| High | 1,557,573 bytes (1.49 MiB) | 2,400 × 3,200 pixels | Open High PDF |
| Compact | 373,280 bytes (0.36 MiB) | 1,200 × 1,600 pixels | Open Compact PDF |
We parsed each completed PDF to verify its two pages and embedded image dimensions. The crops below come from the images embedded in those PDFs, not from the page preview. The Compact crop is enlarged to the same displayed size so you can compare the same source area.
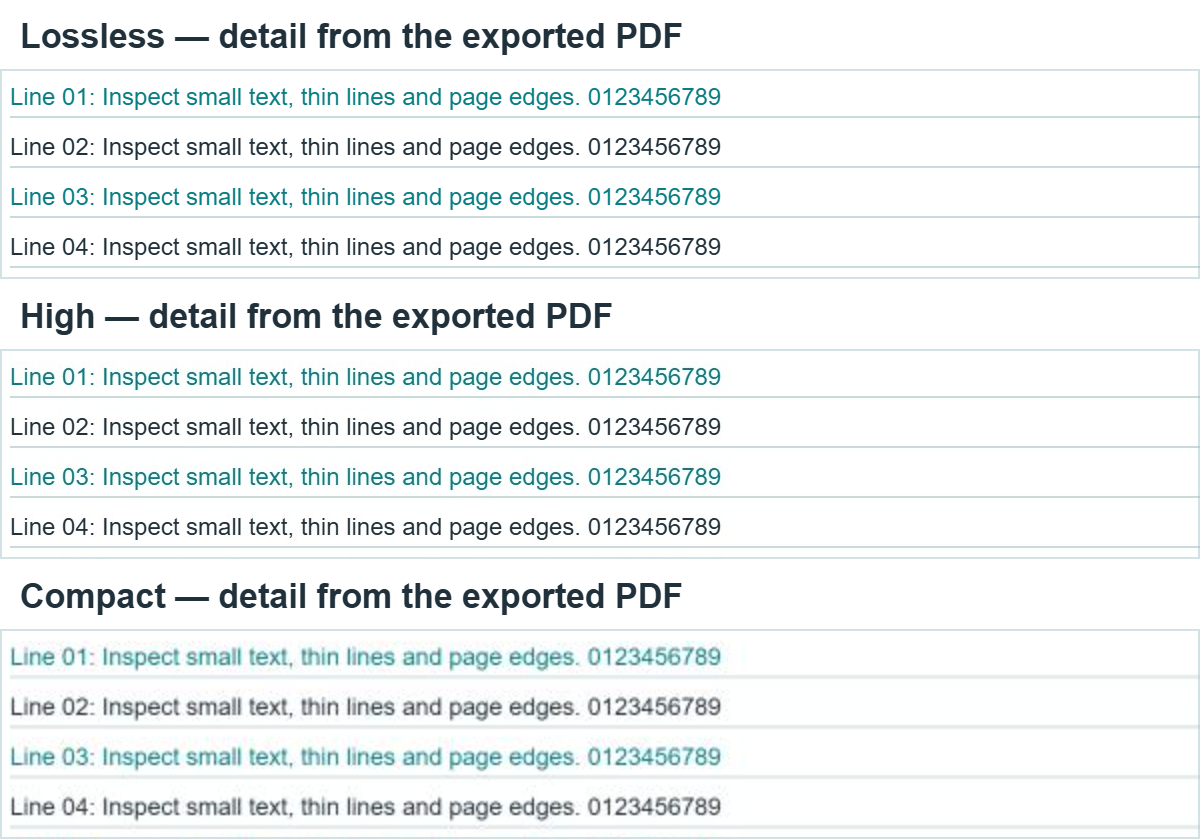
In this test, Compact produced the smallest file but reduced the text-sheet resolution by half in each dimension; its small text looks softer in the enlarged crop. High kept the source dimensions but used JPEG compression. Lossless preserved the rendered pixel detail without JPEG compression. The color graphic also shrank under Compact, to 1,600 × 1,066 pixels.
To repeat the comparison, save the text-and-line PNG (760 KiB) and color graphic PNG (5.91 MiB), add them in that order, and use the settings above. These sizes apply only to these samples and this browser run, not to every photo or document. Browser encoders and PDF metadata can change exact byte counts; there is no guaranteed reduction percentage. MiB means 1,048,576 bytes.
Pixels are not paper dimensions
With Page size set to Match each image, Orientation set to Automatic and Margins (mm) set to 0, PixToPaper normally interprets the edited image at 96 pixels per inch. This is a sizing convention, not a claim about camera resolution or printer quality. PDF uses 72 points per inch, so one source pixel becomes 0.75 PDF points under that convention. Exceptionally large page dimensions are reduced to stay within the PDF page-size limit.
For example, a 960 × 1,440 image corresponds to a 10 × 15 inch page before page-layout choices. That same image printed at 300 pixels per inch would cover only 3.2 × 4.8 inches. Merely choosing a large paper size stretches the image; it does not add pixels.
For a print target often described as “300 dpi,” calculate image detail using 300 pixels per inch. Printer dots and image pixels are not identical, but this is a useful planning target:
- A 6 × 4 inch photograph needs about 1,800 × 1,200 pixels at 300 pixels per inch.
- A full US Letter page, 8.5 × 11 inches, needs about 2,550 × 3,300 pixels.
- A full A4 page, approximately 8.27 × 11.69 inches, needs about 2,480 × 3,508 pixels.
These full-page examples exclude margins. See A4 vs Letter: page size, margins and image fit for printable-area examples.
A practical decision checklist
- Keep screenshots and diagrams as PNG when available; keep photos in their existing high-quality format.
- Set Page size to the paper your recipient or printer expects, or use Match each image for image-shaped pages.
- Select Fit the whole image when no edge should disappear. Use Fill the page only when cropping edges is acceptable.
- Try Lossless — larger file for small text and High — balanced size for photos. Use Compact — smaller file only if its downloaded result remains clear enough.
- Open the exported PDF and inspect labels, faces and page edges before sharing or printing.
Keep your original images separately. The PDF is a delivery format, not a substitute for your editable source files.
Sources and what this comparison proves
- MDN’s image format guide explains PNG, JPEG and WebP compression and transparency support. These format capabilities are separate from PixToPaper’s white-background rendering.
- Google’s WebP documentation describes lossy, lossless and transparent WebP. A
.webpextension alone does not identify its compression mode. - MDN’s canvas export documentation explains browser image encoding and the quality argument used for lossy output. Browser output can vary; a particular file-size reduction is not guaranteed.
The two-page PDF sizes and extracted details above are PixToPaper’s own recorded browser results, not numbers taken from those references. Use the linked source PNGs and PDFs to inspect that specific comparison. Our testing and editorial approach explains the evidence and its limits.
Read how these guides are produced and checked, or report a correction. Examples use demonstration files, not visitors' documents.