
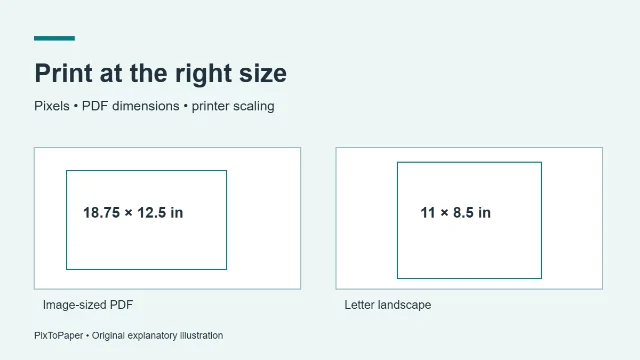
Print images at the correct size: PDF scale, pixels and paper
Troubleshoot prints that are too large, too small or cropped using PDF dimensions, print-dialog scaling and a reproducible 1800 × 1200 pixel example.
Clear explanations of image quality, page sizes and the settings that change your result.
Troubleshoot prints that are too large, too small or cropped using PDF dimensions, print-dialog scaling and a reproducible 1800 × 1200 pixel example.
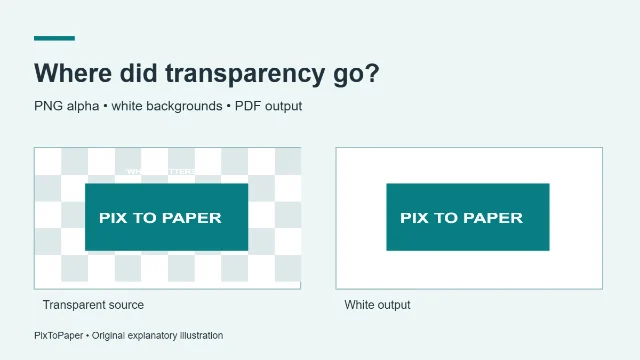
Learn why transparent PNG areas become white in PixToPaper PDFs, reproduce the result with a sample, and keep white logos readable before conversion.
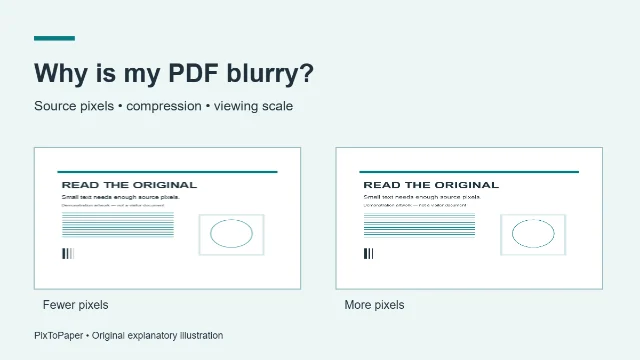
Diagnose blurry image-to-PDF output with an original downloadable comparison, source-resolution checks, export settings and print-size calculations.
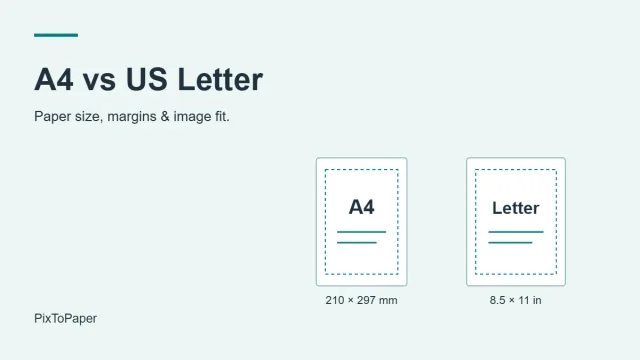
Choose A4, US Letter or an image-sized PDF with clear dimension examples, printable margins, fit versus fill, and 300 dpi print planning.
Make one PDF or separate PDFs from PNG, JPG and WebP images. Follow real PixToPaper screenshots to arrange pages, choose settings, preview and download.
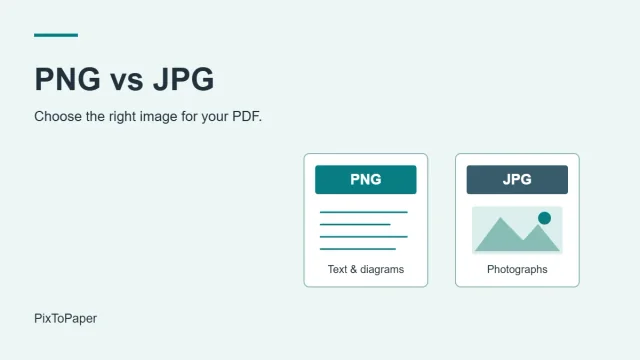
Learn when PNG or JPG makes a better PDF source, what happens to transparency, and how Lossless, High and Compact quality affect your pages.
Start with the step-by-step conversion guide if you need to arrange several images, preview pages or download separate PDFs. It walks through the controls in order, so you can check the result before sharing it.
For document layout, read A4 vs Letter to choose paper, margins and placement. Fit keeps the whole image visible; Fill can crop edges to cover the available space. If the PDF looks right but a physical print is too large or small, use the print-sizing guide to separate page dimensions from print-dialog scaling.
Source pixels determine how much detail you have to work with. Divide the image width in pixels by its intended width in inches: 1,800 pixels across a six-inch print gives 300 pixels per inch; the same source across twelve inches gives 150. Neither changing a file extension nor choosing a higher quality setting creates missing detail. These calculations help plan a print, but do not guarantee its appearance.
Use the blurry-PDF guide to compare source detail with exported output. Then consult PNG vs JPG for compression choices. Compare Lossless, High and Compact with the same source and layout, create a new PDF for each setting, and inspect lettering and edges at the same zoom.
PixToPaper flattens transparent areas onto white, including in Lossless mode. White lettering over transparent space can therefore disappear against the page. Follow the transparency guide using its downloadable PNG: preview the unchanged source, then compare a copy with a contrasting background added in an image editor. Keep the original transparent asset for reuse.